Last updated November 18, 2026






Free written scope consultation - allowances, timeline, and change-order rules on paper before a single trade is scheduled
Bathroom Remodeling Troubleshooting: Common Problems and How to Fix Them
A hollow-sounding tile in a Las Vegas bathroom isn’t automatically a failed install. Tap it again and watch where the hollow spots fall. If they’re scattered at random across the floor or walls, you’re hearing thin thinset coverage behind a tile that’s still bonded fine. But if the hollow area lines up with the wet zone, within 24 inches of the shower head or the first two rows above a tub deck, water has almost certainly reached the substrate behind the tile. The visible tile is the last thing that needs replacing. This guide walks through the six failures we diagnose most often in Las Vegas bathrooms, the order to check them, and the test that tells you whether a spot repair or a full demo is coming.
Quick Answer
Most bathroom remodel problems in Las Vegas come down to two things: waterproofing shortcuts hidden behind finished tile, and plumbing rough-ins that never got inspected. Diagnose which one you have before you call anyone, because a hollow tile in the wet zone means a demo and missing inspection paperwork means a permit problem, and those have completely different costs. Tapping with a wood dowel, running water and watching a pressure gauge, and pulling your inspection history will tell you most of what a contractor would charge to figure out.
Styles & brands we work with
- Kitchen remodeling
- Bathroom remodeling
- Home additions & ADU
- Roofing
- Windows & doors
- Driveway & pavers
- Fence
Table of Contents
- How to diagnose hollow tiles: tap test protocol
- Grout cracking: shrinkage vs. movement
- Low water pressure after a remodel
- Exhaust fan condensation and ceiling moisture
- Persistent drain odor: three causes in order
- Why inspection sign-offs matter more than the finish
- Common mistakes to avoid
- Frequently asked questions
How to diagnose hollow tiles: tap test protocol
Grab a wood dowel about 8 to 10 inches long, or the handle end of a screwdriver wrapped in a rag so you don’t chip the glaze. Tap every tile with a light, even stroke. A properly bonded tile gives a dull thud. A hollow one gives a higher, almost musical ring. Do this in a grid: shower walls from the floor to the ceiling, then the floor from the drain to the doorway. Note each hollow tile on a rough pencil sketch or take a photo with your phone and mark it up.
Now read the pattern, because the pattern is the diagnosis:
- Random voids. Hollow spots scattered with no relationship to each other. This is an installation coverage issue. Tiles are still bonded at their edges and the void sits in thinset that never got 90 percent contact. It’s cosmetic and it’s stable. Leave it. Re-tapping in six months will show the same tiles.
- Consistent pattern spreading from the wet zone. Hollow tiles in a cluster that starts at the shower head or the tub spout and fans outward. This is moisture delamination: water has been getting behind the tile for months, softened the thinset bond, and the tile is now holding on at its edges. This means the waterproofing layer either wasn’t installed, was punctured by a fastener, or was the wrong product entirely.
The fix depends on which pattern you have. Random voids get spot repair if a tile is actually loose enough to move under a press. Wet-zone delamination means the tile, thinset, and backer board come out together in that zone, the substrate gets assessed for rot, waterproofing gets reinstalled correctly, and tile goes back on. We’ve seen this exact failure in Las Vegas showers more than any other, because our water here is hard (typically 250 to 350 mg/L calcium carbonate), showers run long, and any gap in the waterproofing gets worked on daily.
Grout cracking: shrinkage vs. movement
Grout cracks are common and most of them are harmless. The differentiation is straightforward once you know what to look for.
Shrinkage cracks are hairline, usually less than the width of a credit card, uniform across a field of tile, and they appear in the first month or two after install as the cementitious grout cures. They’re cosmetic. A matching grout and a damp sponge closes them for good, and they don’t come back.
Movement cracks are different. They’re wider, they grow over time, and they cluster at three places: inside corners where two walls meet, the transition between wall tile and floor tile, and the junction where tile meets a tub, shower pan, or vanity. That corner pattern is diagnostic. Tile moves because the two planes it’s attached to move independently, and grout cannot hold a joint that moves. It’s cement, not rubber.
The fix for a movement crack is not re-grouting. Regrouting a corner joint just puts a brittle material back over a joint that will move again. Corners and transitions need an expansion joint filled with 100 percent silicone sealant matched to your grout color, not a latex-acrylic caulk (which shrinks and peels in a shower), not a sanded caulk. Cut the existing grout out of the joint first, dry the void, and fill with silicone. If the movement crack keeps opening even after a proper silicone joint, the underlying issue is substrate movement and the panel needs to be looked at before you spend more money on sealant.
Low water pressure after a remodel
If the shower or vanity faucet was fine before the remodel and is weak after, run this sequence in order before you call anyone. Each step eliminates a whole category of cause.
- Check the aerator. Unscrew the faucet aerator screen and look at it against a light. Construction debris, solder flux, and hard-water scale will all collect here first. If it’s clogged, that alone was your problem. Rinse and reinstall.
- Check the supply stop. Under the sink or behind the wall access panel, each fixture has an angle stop. Turn it fully counterclockwise. Half-open valves are a common remodel oversight and can cut flow by a third.
- Check the shower head. Some new fixtures ship with a flow-restrictor insert that limits output to 1.8 or 2.0 gallons per minute (gpm). If your old head was a full-flow 2.5 gpm unit, the new fixture is working as designed but feels weaker. Remove the restrictor only if local code permits; Clark County follows the state adoption of the plumbing code and California-style low-flow requirements apply in most new installs.
- Check the main pressure regulator. Hook a pressure gauge (a simple screw-on hose bib gauge works) to the exterior spigot nearest the water main. Clark County Water District delivers municipal water at roughly 45 to 80 PSI. If you read below 45, you have a supply-side issue that affects the whole house, not a bathroom problem. If you read above 80, you have a pressure regulator failure that needs immediate attention because high pressure damages fixtures, supply lines, and the water heater’s relief valve.
Above 80 PSI is a stop-what-you’re-doing problem. Below 45 is a call-to-the-water-district problem. Between 45 and 70 is normal, and if your bathroom still feels weak inside that range, the restriction is inside the fixture or the branch line, not the municipal supply.
Exhaust fan condensation and ceiling moisture
Peeling paint above the shower, a ceiling that beads with water, and a mirror that fogs and stays fogged are all signs the exhaust isn’t doing its job. There are three possible causes and a simple test for each.
Inadequate CFM. A bathroom exhaust fan should move roughly 1 CFM (cubic feet per minute) for every square foot of bathroom floor area, with a minimum of 50 CFM for a small bath. A 5 by 8 bathroom needs at least 40 CFM, realistically a 50 to 80 CFM fan. Look at the label on the inside of the grille. If it’s a builder-grade 50 CFM fan in a bathroom with a soaking tub in Las Vegas summer heat, it’s undersized.
Disconnected duct in the attic. The fan runs and sounds fine, but the flexible duct behind it has slipped off the fan housing collar. The fan is pulling air from the bathroom and blowing it straight into the attic. This is one of the most common issues we find during a bathroom remodel in Las Vegas, partly because attic temperatures of 140°F in July cause duct tape adhesive to fail. Check by climbing into the attic (carefully, with a helper nearby) while the fan runs. If you feel air blowing anywhere other than into the duct, the connection has failed.
Duct terminating in the attic instead of through the roof. This is the worst of the three and the most common. The duct runs up from the fan and stops inside the attic, dumping all that warm moist air into a closed space. Building code IRC M1505.2 requires bathroom exhaust to terminate outdoors, either through the roof or through a side wall, with a backdraft damper. Terminating in the attic is a code violation, feeds mold in the attic insulation, and eventually damages the ceiling drywall below. The fix is a proper roof or wall termination with a sealed boot, and it’s the kind of change that shows up in an inspection report if you sell.
Persistent drain odor: three causes in order
A bathroom that smells like sewer after a remodel usually has one of three problems. Check in this order because the first is free to fix yourself.
- Missing or dry P-trap. Every drain, including a floor drain, needs a U-shaped trap holding 2 to 4 inches of water. That water column is the seal that keeps sewer gas out. Guest bathrooms and rarely used floor drains go dry in weeks. Run water down every drain weekly or install a trap primer on the floor drain if you have one. If there’s no trap at all, which sometimes happens when a floor drain was added during remodel, that’s a plumbing fix.
- Improperly vented drain. Every fixture drain needs a vent pipe running up and out through the roof, because the vent keeps the trap seal intact and equalizes pressure. If a fixture was moved during remodel and the vent wasn’t reinstalled correctly, the drain will gurgle and the trap seal will siphon out. Pull your permit and inspection history. This is exactly why we care about inspection sign-offs on rough plumbing. If the rough was never inspected, the vent was never verified.
- Wax ring failure at the toilet. The wax ring seals the toilet base to the closet flange. If it’s damaged or misaligned, sewer gas and a slow leak both come up through the base of the toilet. Test before you pull the toilet: drop a dye tablet (the kind sold for toilet tank testing) into the tank, wait 20 minutes without flushing, and look at the base of the toilet and the floor around it. Dye at the base means the wax ring leaked. No dye means look elsewhere.
If your remodel involved relocating a drain or adding a fixture, call the building department for the inspection record before anything else. A signed rough plumbing inspection eliminates the vent problem from the diagnosis and narrows your list to just the trap and the wax ring, both of which are inexpensive fixes.
Why inspection sign-offs matter more than the finish
Troubleshooting a remodeled bathroom is diagnosing what happened in two phases: the rough-in, and the finish. The finish is what you see. The rough-in is where the actual failures live. When you buy a house with a recently remodeled bathroom, ask for the permit number and pull the inspection history. If the seller can’t produce it, budget for a rough-plumbing recheck before you do anything cosmetic.
A bathroom remodel in Las Vegas permits three inspection points in the state-adopted building code: the rough plumbing (drains, vents, supply lines, before walls close), the rough electrical (GFCI protection, fan ducting, before drywall), and the final. The rough inspections are what catch the venting failure and the attic termination of your exhaust duct. The final catches nothing but cosmetic issues. If the rough was never inspected, you’re flying blind on the exact two things that cause most of the problems in this guide.
At Rowan Construction Group, we pull permits before the job starts and pass rough inspections before walls close, every time. If you’re reviewing a competing quote and can’t tell whether the permit is included, our Rowan Construction Group Las Vegas home team will review it line by line at no charge, because missing a permit is often the difference between a remodel that lasts 30 years and one you’re repairing in year three.
Common Mistakes to Avoid
- Accepting a sealed bid without a scope. “Allowance” line items without a dollar cap hide cost. A written scope names the exact backer board, the exact waterproofing membrane, and the exact tile installation method before the price gets signed.
- Letting the contractor start on a verbal change. In our experience, most cost overruns start the day a homeowner tells a crew “just add that while you’re in there” without a piece of paper. Our Haven Standard Clause 1 exists for this reason: no change proceeds until the change order is signed, and that’s why projects finish within a few percent of the number the customer agreed to.
- Skipping the waterproofing inspection in a shower. In Las Vegas, the waterproofing membrane behind the shower tile can be installed and covered with backer board within a single workday, and once it’s tiled, no one ever verifies it again. Ask the contractor to photograph the waterproofing layer before tile goes on. That photo record should be standard, not an upgrade.
- Using drywall in the wet zone. Cement board or a proper foam backer panel only. Drywall erodes from behind with slow leaks that never show moisture on the surface until the surrounding framing is soft.
- Assuming a low-flow shower head isn’t a functional issue. In Clark County where 2.5 gpm and below is standard, that new 1.8 gpm head is complying with code, not failing. A pressure reading between 45 and 80 PSI with a low-flow fixture is the design working as intended.
- Hiring on the day the price was quoted. The audience for this guide reads reviews before they call. Compare two written quotes, ask for the license number, and request a documented photo record on every visit. It’s the difference between a working bathroom and a monthly repair habit.
- Ignoring the home additions and structural questions. If your bathroom remodel includes moving a wall or adding a bump-out, that’s a structural change with its own permit and inspection path, not a cosmetic upgrade. Our Home Additions & ADU in Las Vegas team handles those separately.
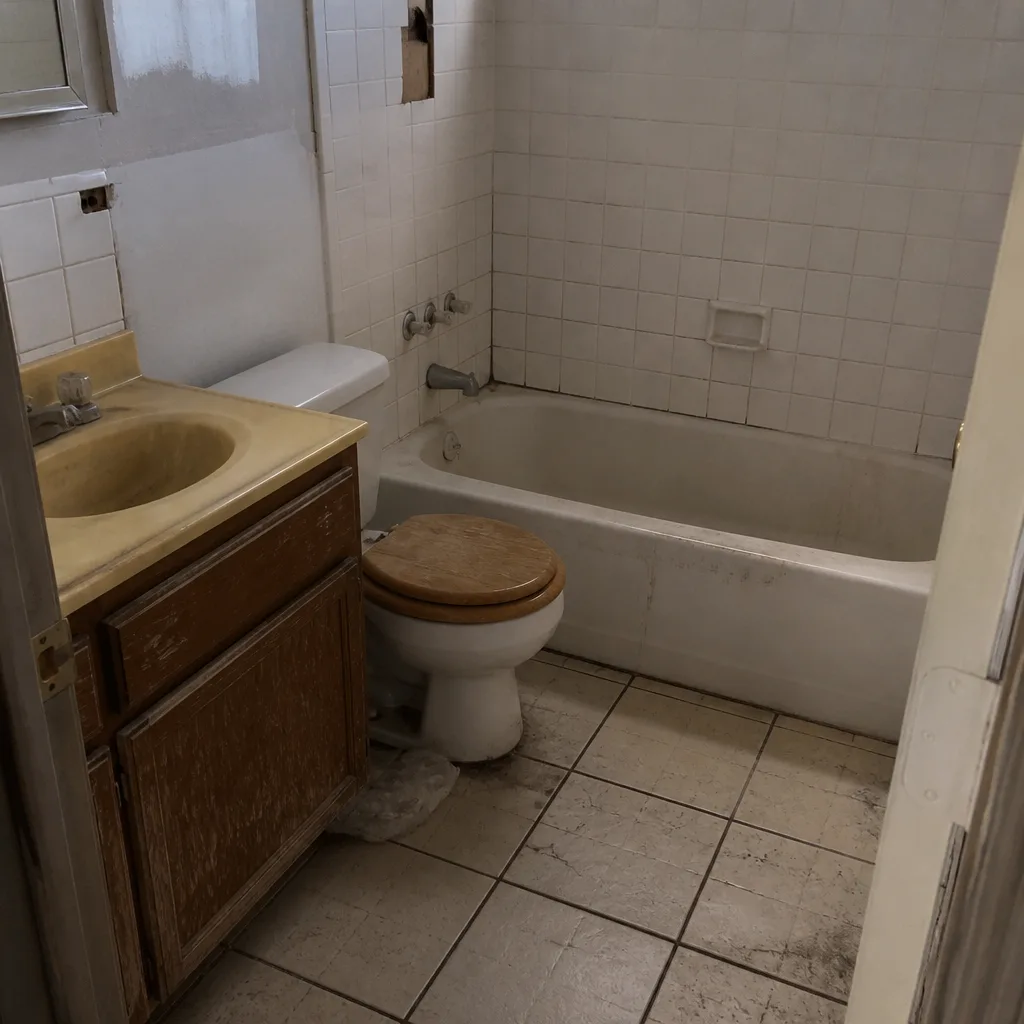
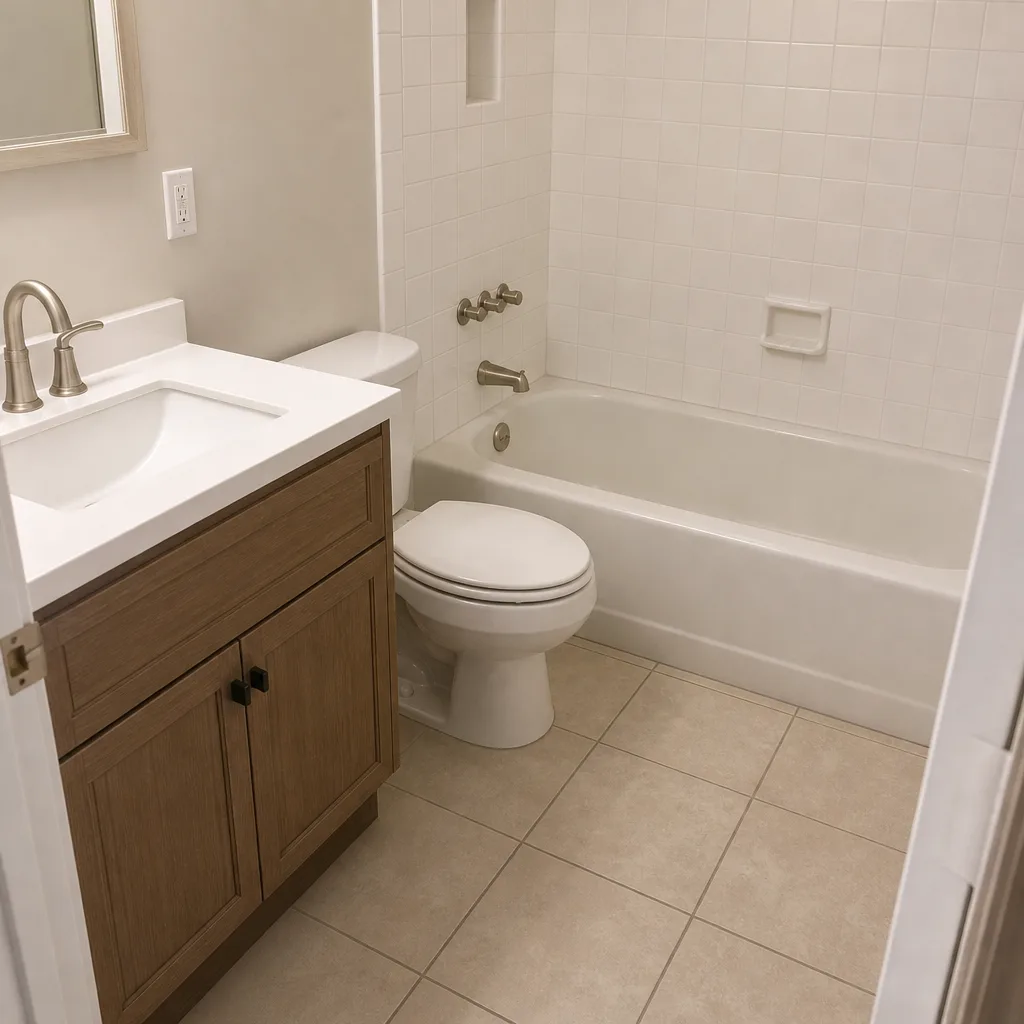
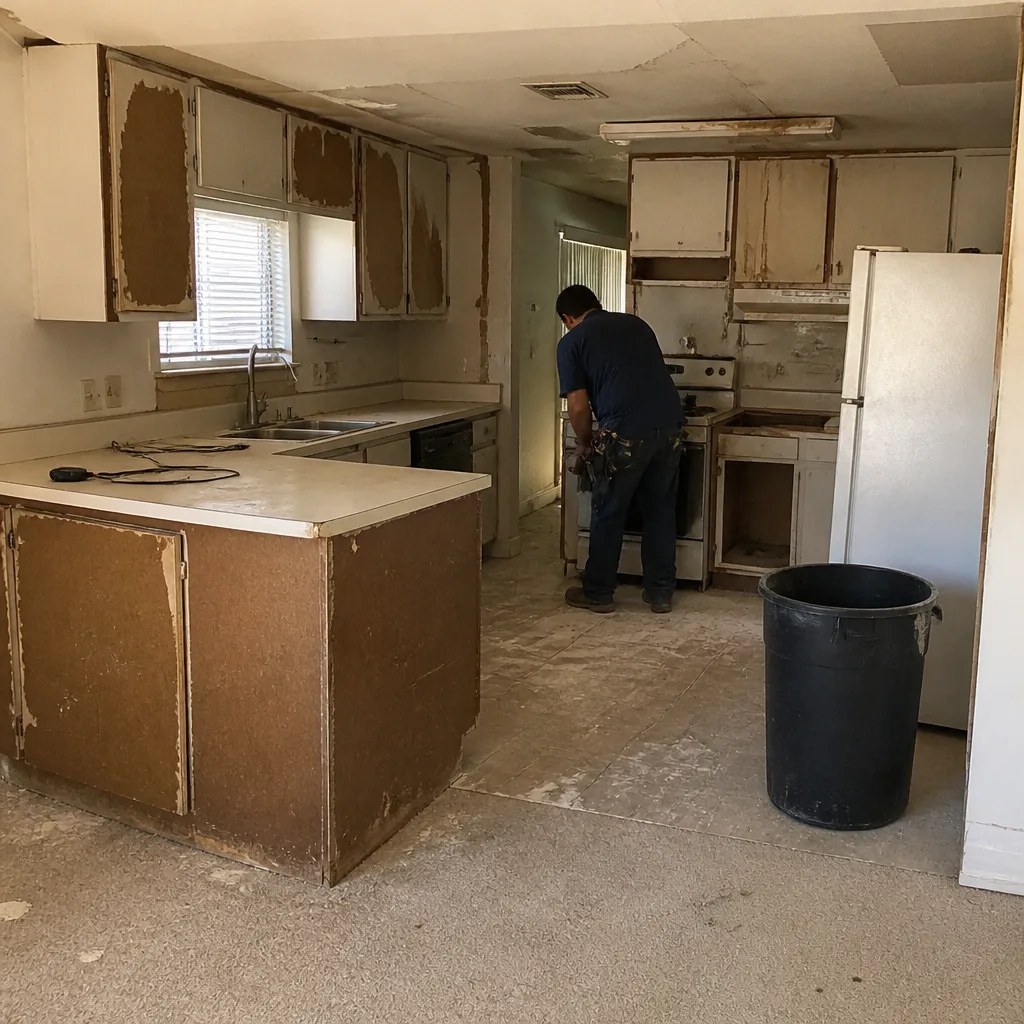
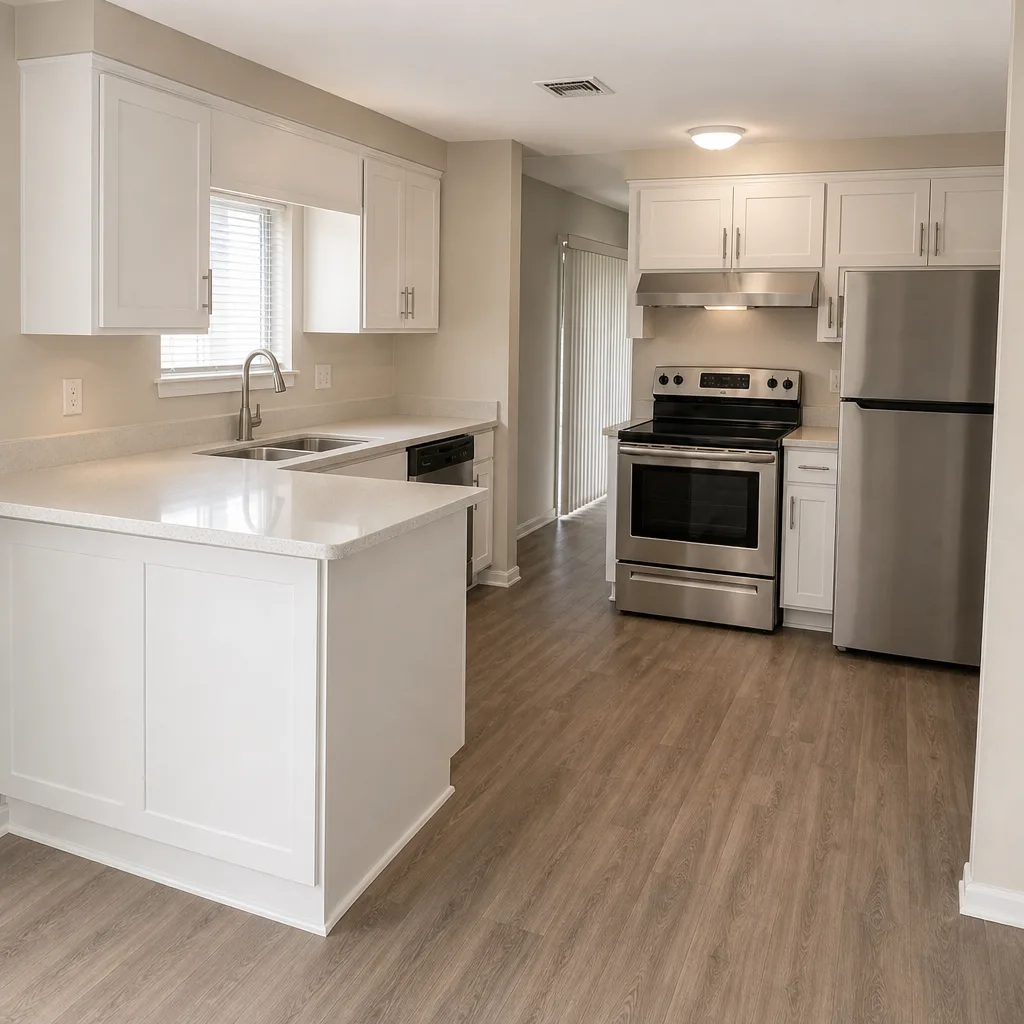
See the difference
 Before
 After
 Before
 After
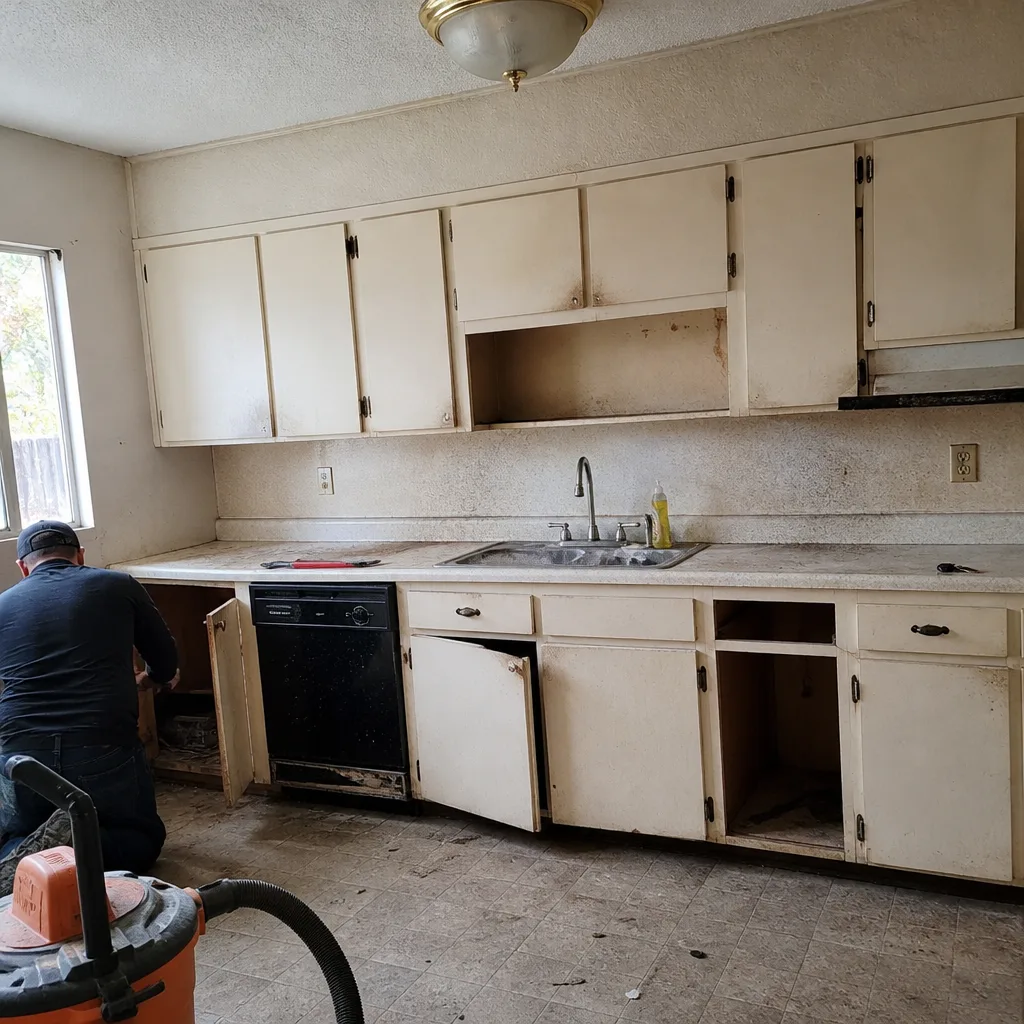 Before
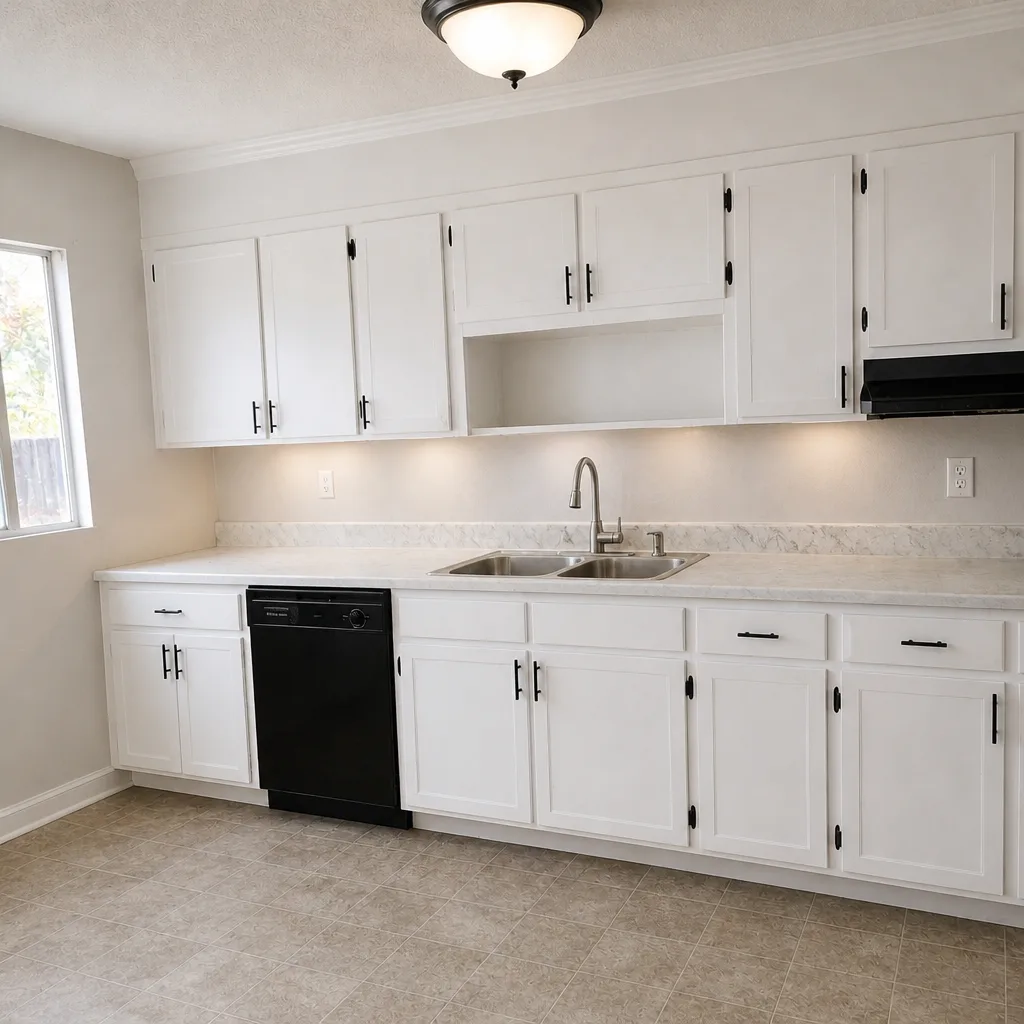 After
When to Call a Professional
Call a professional immediately for three scenarios: hollow tile in a wet zone that’s spreading (water is actively behind the tile), a pressure reading above 80 PSI at the main (a regulator failure damages fixtures and the water heater), and a drain odor that persists after a wax ring and trap check (this is usually a venting failure and needs inspection documents). For anything else on this list, a homeowner can usually diagnose the cause in an afternoon, then decide whether to hire based on what they find. Two-thirds of the calls we take are people who didn’t know what they had; the diagnosis comes first, and the plan depends on the answer. Rowan Construction Group Las Vegas offers free estimates in Las Vegas and a free second opinion on any written estimate you already have. Call (833) 467-9123 to schedule. The 365-Day Done Right Promise applies to every bathroom we build: if it’s not done right, we make it right.
Frequently Asked Questions
A spot repair of one or two tiles typically runs $250 to $550. A wet-zone delamination that requires removing tile, assessing substrate, reinstalling waterproofing, and re-tiling a shower wall or floor runs $2,000 to $6,500 depending on the extent. The diagnosis (the tap test) is free to do yourself. Call (833) 467-9123 for a written quote, estimates are free.
Usually not. In our experience it’s one of three things, in order of likelihood: a clogged aerator screen, a half-open angle stop, or a flow restrictor inside the fixture. Check pressure at the main spigot first. If it’s between 45 and 80 PSI, the fixture is limiting flow by design. Call (833) 467-9123 for a free estimate if you want it checked properly.
Because the corner needs an expansion joint, not grout. Tile joints at corners and transitions move, and cement grout cannot move with them. The fix is to cut the grout out and fill with 100% silicone sealant, not re-grout. A corner that cracks again after a silicone joint means the substrate is moving and needs review. Call (833) 467-9123 for a free estimate on the substrate check.
Climb into the attic with a helper while the fan is running and trace the duct to its end. If it stops inside the attic rather than exiting through the roof or a side wall, it’s a code violation under IRC M1505.2. This is a common finding in Las Vegas homes built during the 1990s and 2000s. Call (833) 467-9123 for a free estimate on a proper roof termination.
A mid-range bathroom remodel in Las Vegas typically runs $18,000 to $35,000, and a full gut with relocated plumbing runs $35,000 to $65,000. The written quote should name the exact backer board, the exact waterproofing membrane, and the exact fixture brands. Call (833) 467-9123 for a written flat price before any work starts, free estimate.
Not without a signed change order. That’s the discipline that keeps projects within a few percent of the agreed price: no work proceeds on a change until both sides sign the number. Under Clause 1 of the Haven Standard, the price is written before anyone picks up a tool, every time. Call (833) 467-9123 for your written price.
The Bottom Line
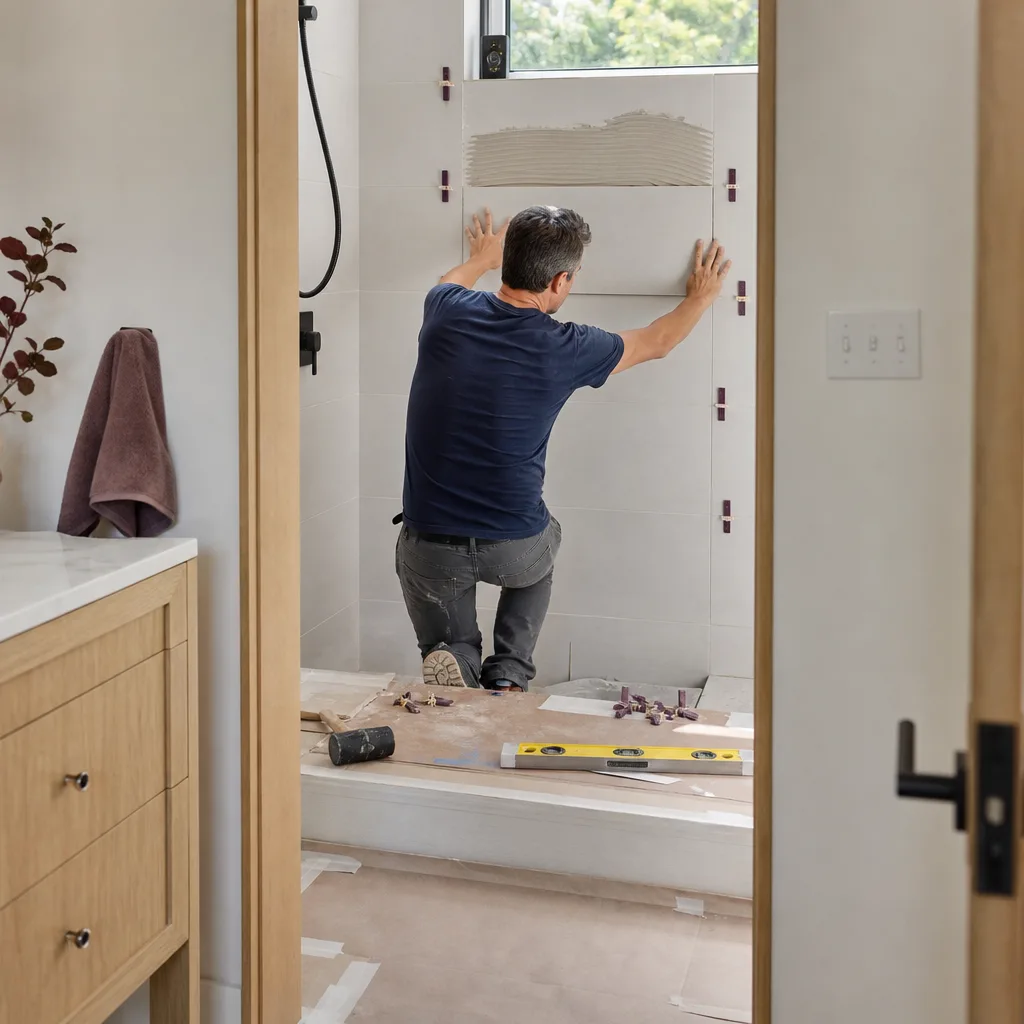
Most bathroom remodeling problems in Las Vegas trace to one of six causes: wet-zone waterproofing shortcuts, missing expansion joints at grout corners, fixture or supply-side low pressure, exhaust ducting that never leaves the attic, and venting or wax-ring failures at the drain. Each has a specific test that a homeowner can run in an afternoon, and each has a fix with a very different cost. Diagnose first, then price. If you’re ready for that written price, Rowan Construction Group uses fifty-plus vetted brands (KraftMaid, Cambria, Kohler, Toto among them) and every job gets a flat quote and a documented photo record before the crew leaves.
Before you schedule a contractor, do the tap test and the pressure gauge reading. Then call (833) 467-9123 for a free estimate in Las Vegas, and bring a competitor’s quote if you have one. Our team will review it line by line at no charge. Related services: Driveway & Pavers in Las Vegas and Fence Installation in Las Vegas for exterior work that frequently pairs with a bath remodel. Licensed and insured. Insured and bonded. Written warranty on every job.
Written by the team at Rowan Construction Group Las Vegas.